
Embedded Payment Tracking
General Embedded Payment Tracking Overview
Embedded Payment Tracking allows you to integrate a micro front-end directly into your website, giving access to payers to track the status of their payment and refund without leaving your website. The integration uses a JavaScript library delivered via a CDN link, offering a seamless experience for your users to check the status of their payment or refund. You can use this feature on its own or alongside the Embedded Payment Solution.
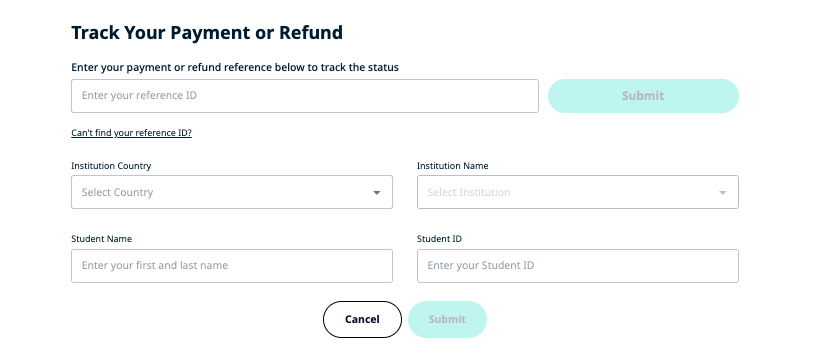
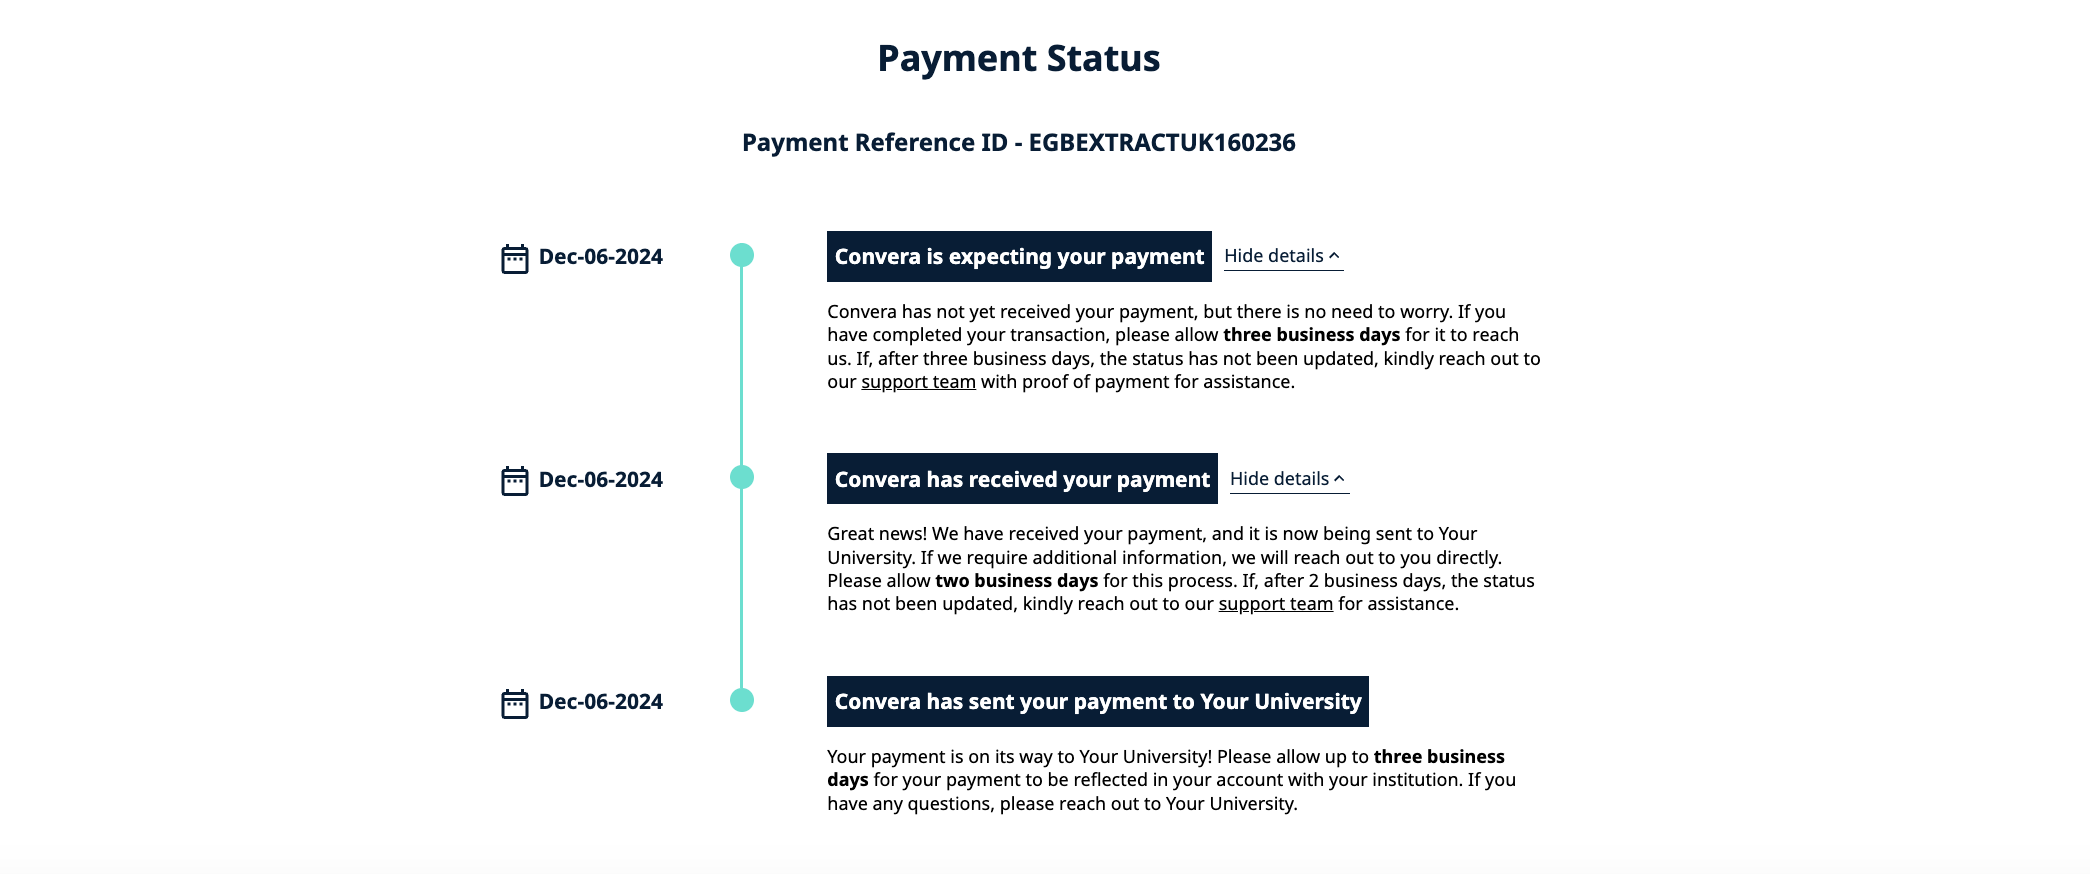
Embedded Payment Tracking integrates directly with your website, making it easier for payers to check the status of their payment or refund from start to finish. This solution can be used as a standalone integration, as shown below. Payers get the same tracking features available on our hosted site, including payment reference lookup, and detailed tracking overview.

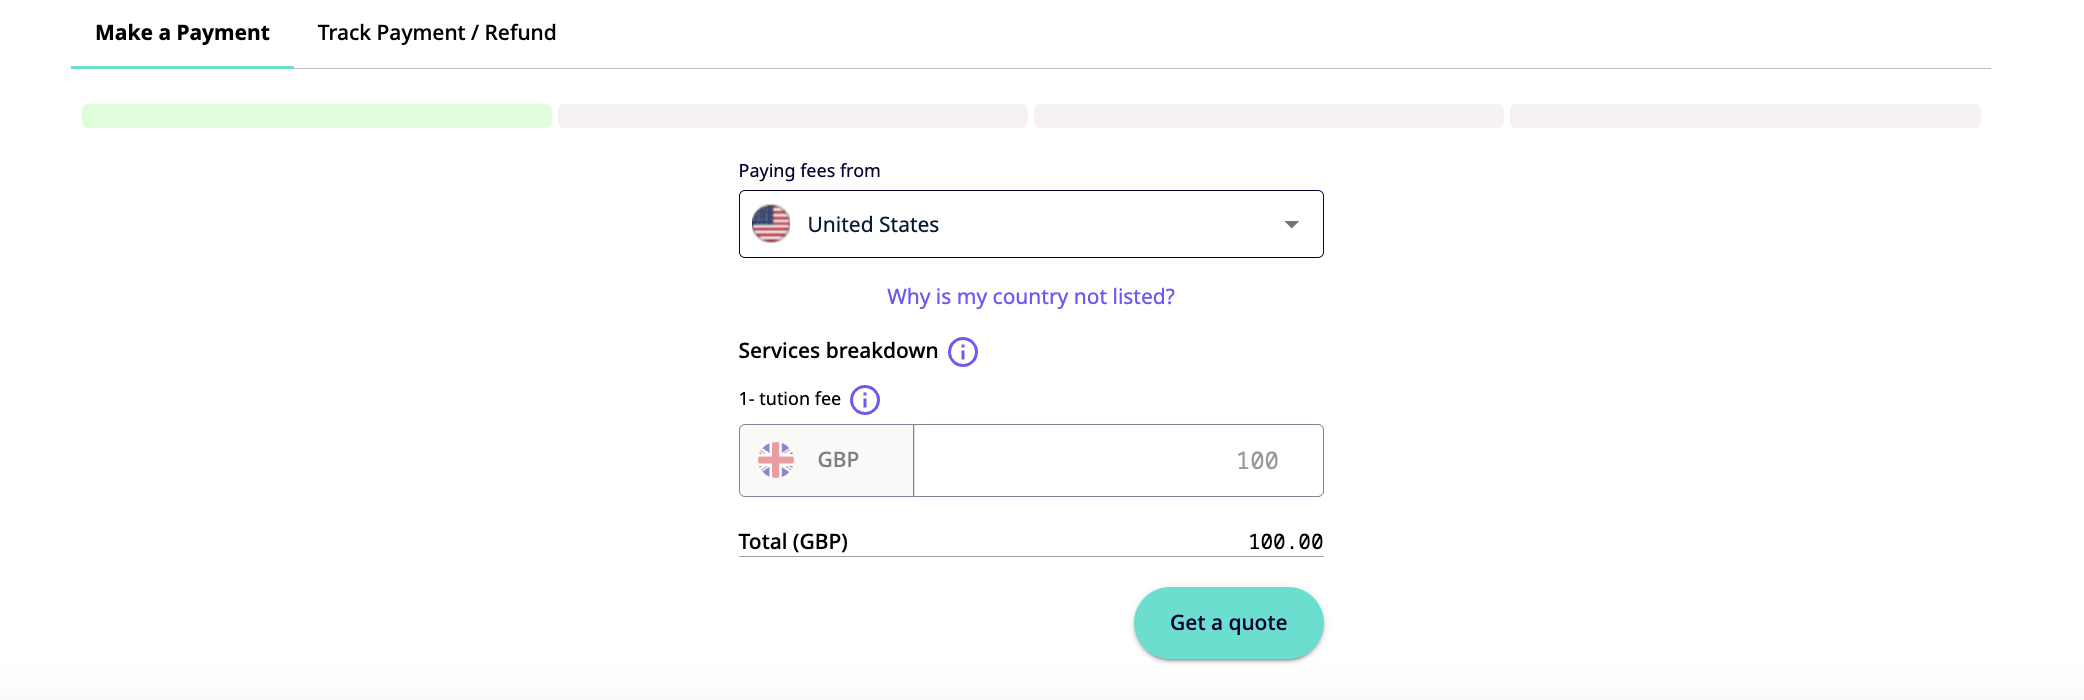
Embedded Payment Tracking can also be used in conjunction with our Embedded Payment Solution, allowing your payers to complete a payment, and track their payment or refund by toggling to 'Track Payment / Refund.'

Embedded Payment Tracking Integration
Convera provides a fully integrated sandbox environment which allows you to test your integration. The sandbox environment will have all the features and functionality that are available in the production environment.
Integration Steps
Step 1 - Import the Embedded Tracking Solution SDK
Using the below statement, import the Embedded Solution SDK.
Convera recommends loading the JavaScript SDK from the CDN URL rather than saving the JavaScript locally
<script src="https://sandbox-uat.spm.convera.com/static/js/main.js"></script>Step 2 - Initiate Script
Once imported, the script needs to be initiated by passing the required fields below:
The merchant specific merchantID and merchantSecret are generated by Convera
| Field Name | Description | Type | Format |
|---|---|---|---|
| clientId | This is a unique ID that identifies a merchant in Convera's ecosystem | Required | String |
| merchantId | This is a unique ID that is generated by Convera | Required | String |
| merchantSecret | This is a unique secret that is generated by Convera | Required | String |
{
  "paymentInformation": {
    "clientId": 1000452465,
    "merchantId": "0c420d9cae0f4f6f85aaddbde33e8063",
    "merchantSecret": "K7jkj12hjhkjbdd"
  }
}
Step 3 - White labeling (optional)
The Embedded Payment Tracker can be fully customized to align with your company's branding and design guidelines, ensuring consistency with your brand image.
Sample including theme:
{
  "primaryColor": "#ff595e",
  "secondaryColor": "#6a4c93",
  "accentColors": [
    "#ff595e",
    "#6a4c93",
    "#2133AF"
  ],
  "warningColor": "#6a4c93",
  "primaryButtonColor": "\"Jersey 10\", sans-serif",
  "fontName": "\"Jersey 10\", sans-serif",
  "fontUrl": "https://fonts.googleapis.com/css2?family=Jersey+10&display=swap"
}
Step 4 - Embed the Custom Tag
Insert the following HTML code into your website to integrate the payment tracking feature:
<!doctype html>
<html lang="en">
	<head>
		<script src="https://sandbox.spm.convera.com/static/js/main.js"></script>
		<script>
    var DATA_INPUT = '{"paymentInformation": {"clientId": 1000452465,"merchantId": 		 "0c420d9cae0f4f6f85aaddbde33e8063","merchantSecret": "K7jkj12hjhkjbdd"}} ';let themeInfo=JSON.stringify({"primaryColor":"#ff595e","secondaryColor":"#6a4c93","accentColors":["#ff595e","#6a4c93","#2133AF"],"warningColor":"#6a4c93","primaryButtonColor":"\"Jersey 10\", sans-serif","fontName":"\"Jersey 10\", sans serif","fontUrl":"https://fonts.googleapis.com/css2?family=Jersey+10&display=swap"});let sellerInfo = `<convera-payment data-seller-info='${DATA_INPUT}' data-theme='${themeInfo}'></convera-payment>`;$('#sellerInput').html(sellerInfo);
		</script>
	</head>
	<body>
		<div id="sellerInput"></div>
	</body>
</html>
Updated 7 months ago